Table of content
In GetProspect, you store and manage your prospects’ data in contact records. Your contacts are displayed on the contacts page.
You can:
- see and overview your contacts;
- filter contacts based on specific properties;
- create and save views that show only contacts meeting specific criteria;
- bulk edit contacts, including enriching/deleting them.
Manage your contacts
-
In your GetProspect account, go to Contacts.
-
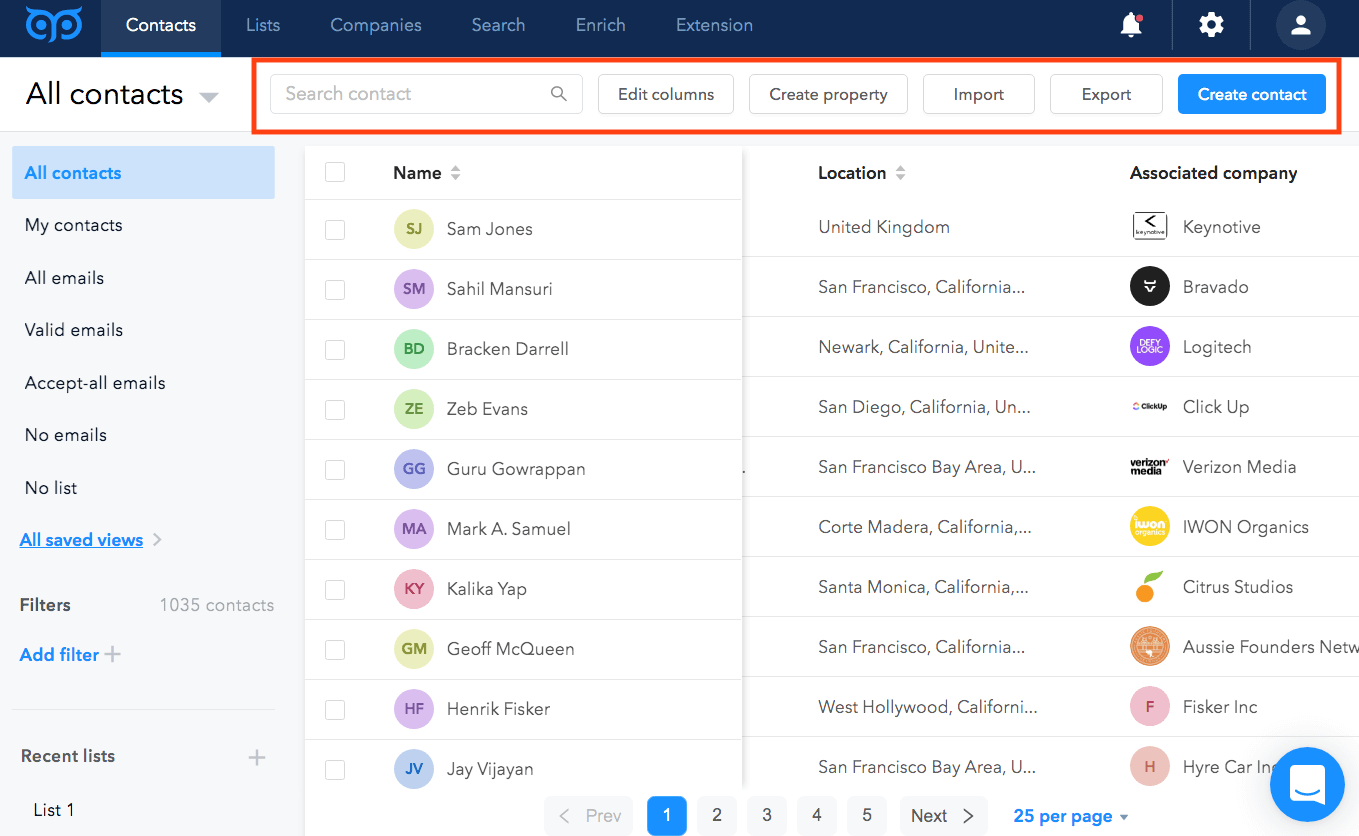
In the upper right:
- Search contact: enter the name of the contact you want to find across your account.
- Edit columns: click to choose the properties which you want to be displayed.
- Create property: click to create a new contact property.
- Import: click to import contacts. You can import a list for enrichment, an existing list, or an ignore list.
- Export: click to export your contacts.
- Create contact: click to create a new contact manually
3. Select a checkbox(es) next to the contact(s). You will see a new panel displayed on the top:
- Select All: click to select all contacts in the current view.
- Enrich: click to enrich the selected contact with data from the GetProspect database.
- Find email: click to find the email address for the selected contact.
- Verify emails: click to verify the email address of a contact.
- Edit: click to bulk edit the contact property values.
- Delete: click to delete contacts.
- Add to list: click to move contacts to an existing list, or create a new one.
-
If you are on a particular list, you can press Move in order to move contacts from one list to another or copy them by turning off Remove contacts from current lists option in the pop-up menu.
-

Read more on bulk actions.
Customize the properties displayed in the table
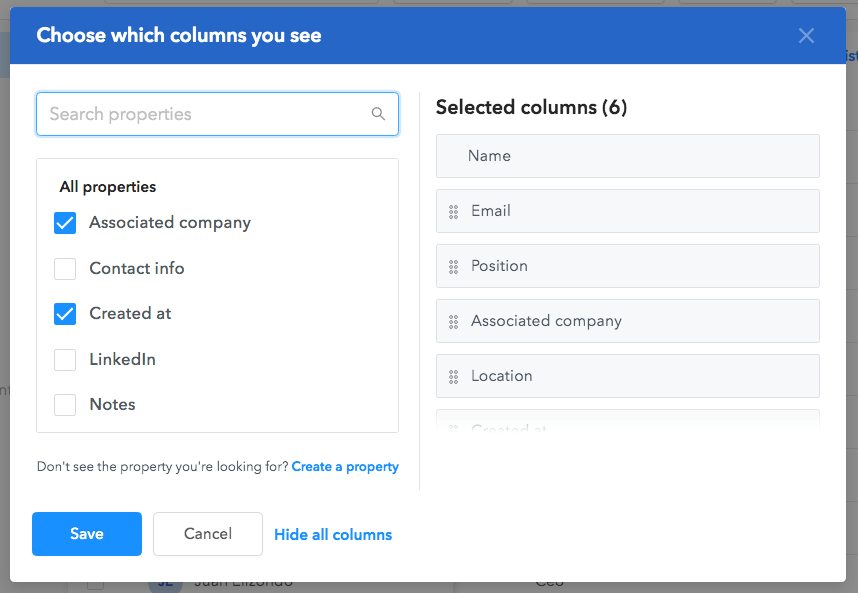
1. To edit the properties shown in the table, click Edit columns in the upper right. In the dialog box:
- On the left, select the properties you want to be displayed in the table.
- On the right, drag and drop properties to arrange them to how you want them to appear in the table. Click X to remove a property.
- Click Hide all columns to remove all columns from the table.
- Click Save.
2. To sort your records using property values, click the property name at the top of the table.
3. To re-arrange your columns, click, hold, and drag the column to your preferred area.
Filter your contacts by creating views based on their property values
You can filter the contacts based on specific criteria.
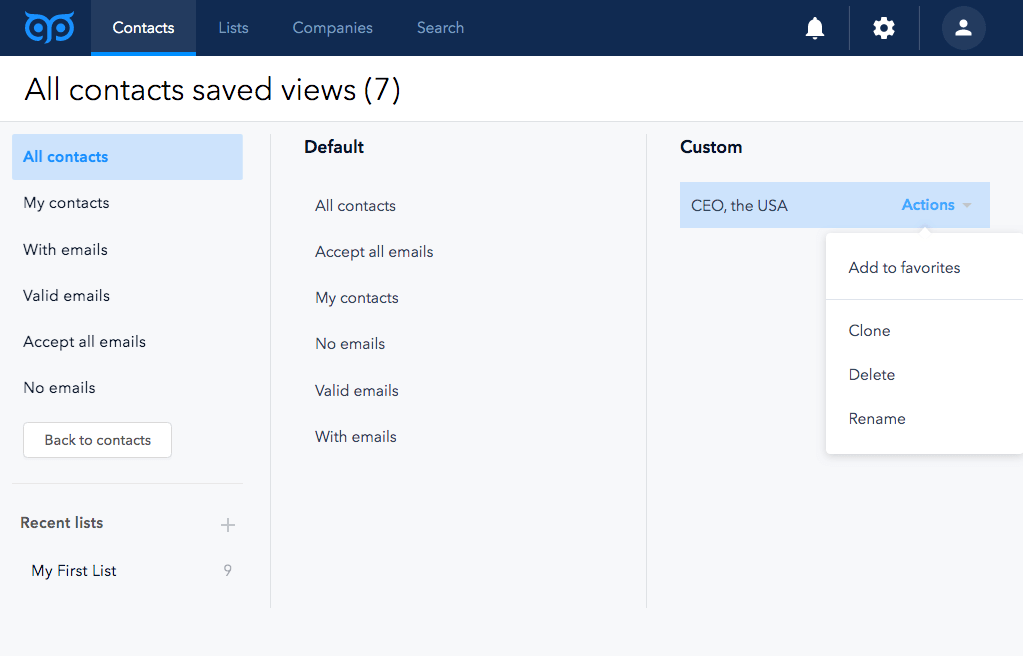
Click All saved views on the left to open all the filters. You will see two columns - Default and Custom.
The default views are: All contacts, Accept all emails, My contacts, No emails, Valid emails, With emails. The default views can’t be deleted or renamed.
You can create custom views based on contact properties:
1. Click Add filter on the right


2. Select the property you want to filter by and then input the property value. Click Add filter.
3. You can choose one or multiple filters.
4. Once you select the necessary filters, you can view the contacts that match these filters. To remove one or more filters, hover over it and click the X icon.


5. You can save these filters into one saved view to use it in the future. For that, click Create View and input the view's name.
6. You can view and manage your views in the All saved views => Custom.
7. Hover over the filter to see Actions. Click on it and select a necessary action for the view:
- Add to favorites - click to move the view to the left-side panel for quick access.
- Clone - click to duplicate the view.
- Delete - click to delete the view.
- Rename - click to rename the view.