On your contacts or companies pages, you can view your records. You can filter these records based on their property values to view the particular segment of your database. This set of filters can then be saved as a view.
When you select the saved view, the same set of criteria will be applied to all the records that meet that criteria.
Unlikely from the lists, which are not updated automatically, the views are updated automatically with the objects which meet the criteria.
- new records will be automatically displayed in the appropriate view according to the filter settings
- records will join the view when they meet the criteria and leave the view when they no longer meet the criteria.
Create a view
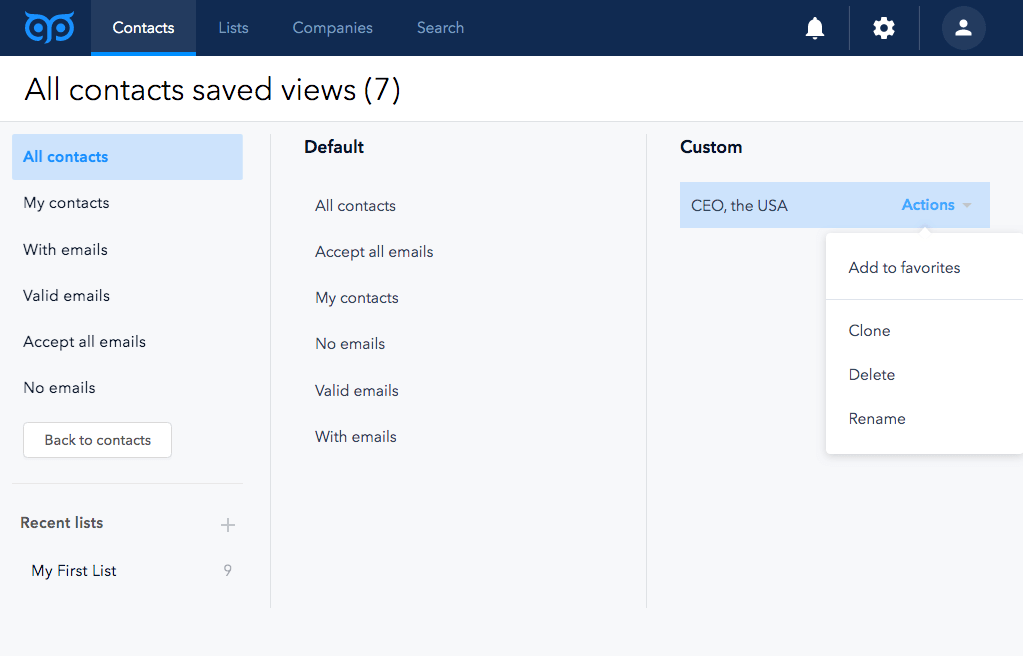
Click All saved views on the left to open all the filters. You will see two columns - Default and Custom.
The default views for contacts are: All contacts, Accept-all emails, All emails, My contacts, No emails, No list, Valid emails.
The default view for companies is: All companies.
The default views can’t be deleted or renamed.
To create a custom view:
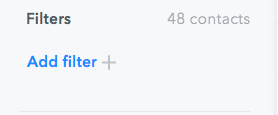
- Click Add filter on the right

- Select the property you want to filter by and then input the property value. Click Add filter.
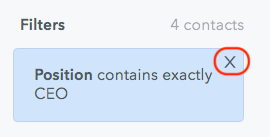
- You can choose one or multiple filters.
- Once you select the necessary filters, you can view the objects which match these filters. To remove one or more filters, hover over it and click the X icon.

- You can save these filters into one saved view to use it in the future. For that, click Create view and input the view's name.
- You can view and manage your views in the All saved views => Custom.
- Hover over the filter to see Actions. Click on it and select a necessary action for the view:
- Add to favorites - click to move the view to the left-side panel for quick access.
- Clone - click to duplicate the view.
- Delete - click to delete the view.
- Rename - click to rename the view.


