Import your .csv file with existing objects to keep them in one workspace.
In this guide we will show how to import a file to GetProspect from your desktop.
In your GetProspect account, go to Contacts or Companies page. Click Import in the top right, or simply get to this page.
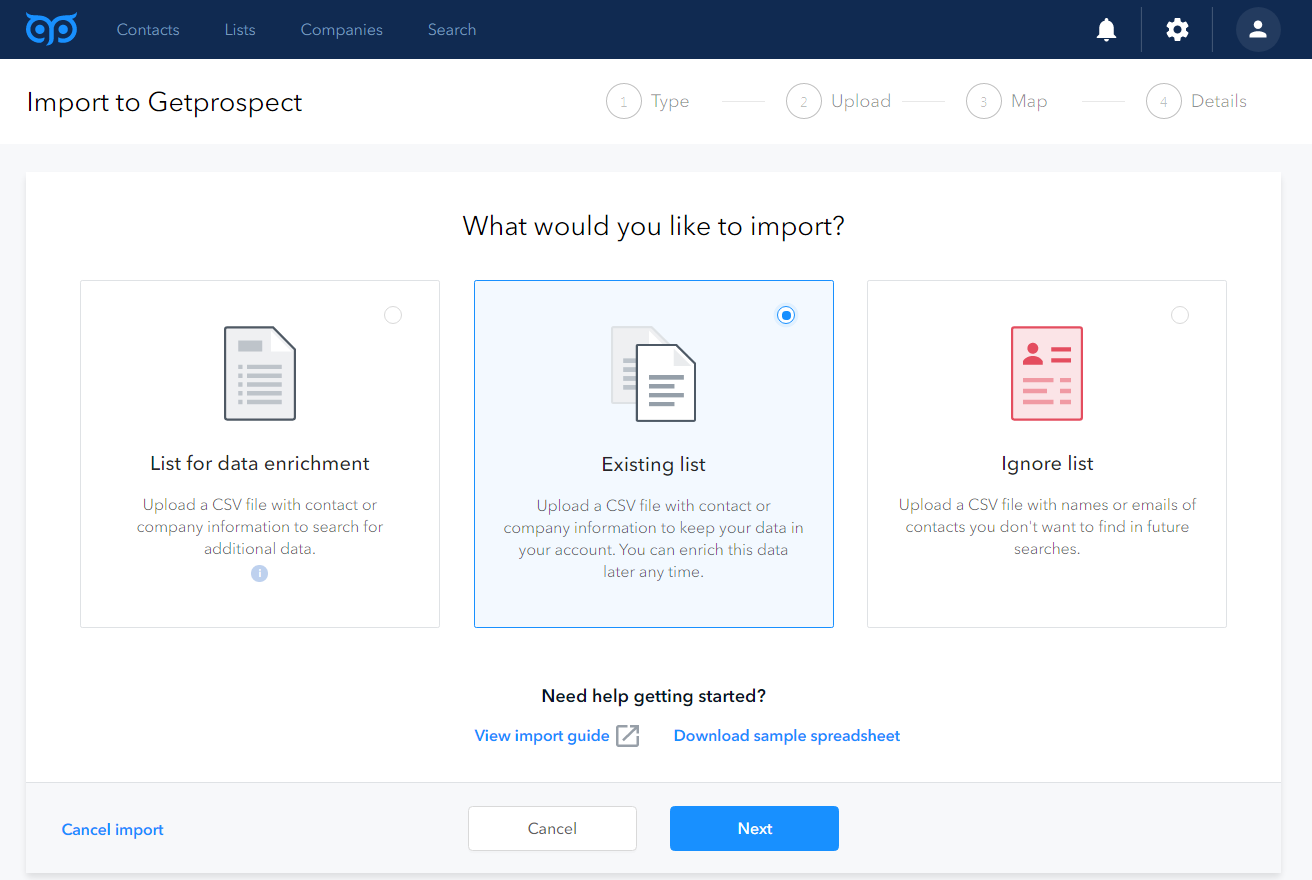
There you would be asked what you want to import and offered three options: list for data enrichment, existing list, ignore list. Select Existing list and click Next.

Now depending on the data which you upload you should select between Contacts and Companies.
In the following example, let’s select Contacts and click Next.
.png)
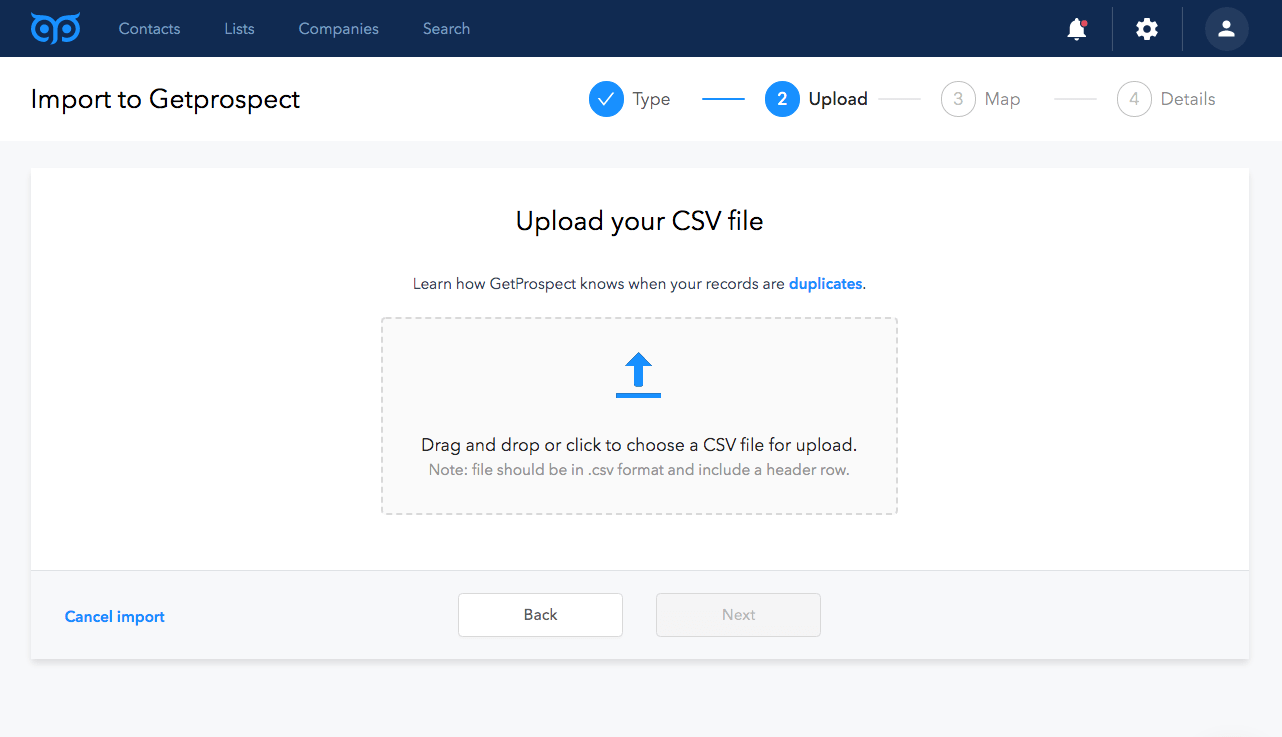
Now you should choose the file which you want to upload. You can select one file at a time.
Note: the file should be in the .CSV format and include a header row.

Click Next.
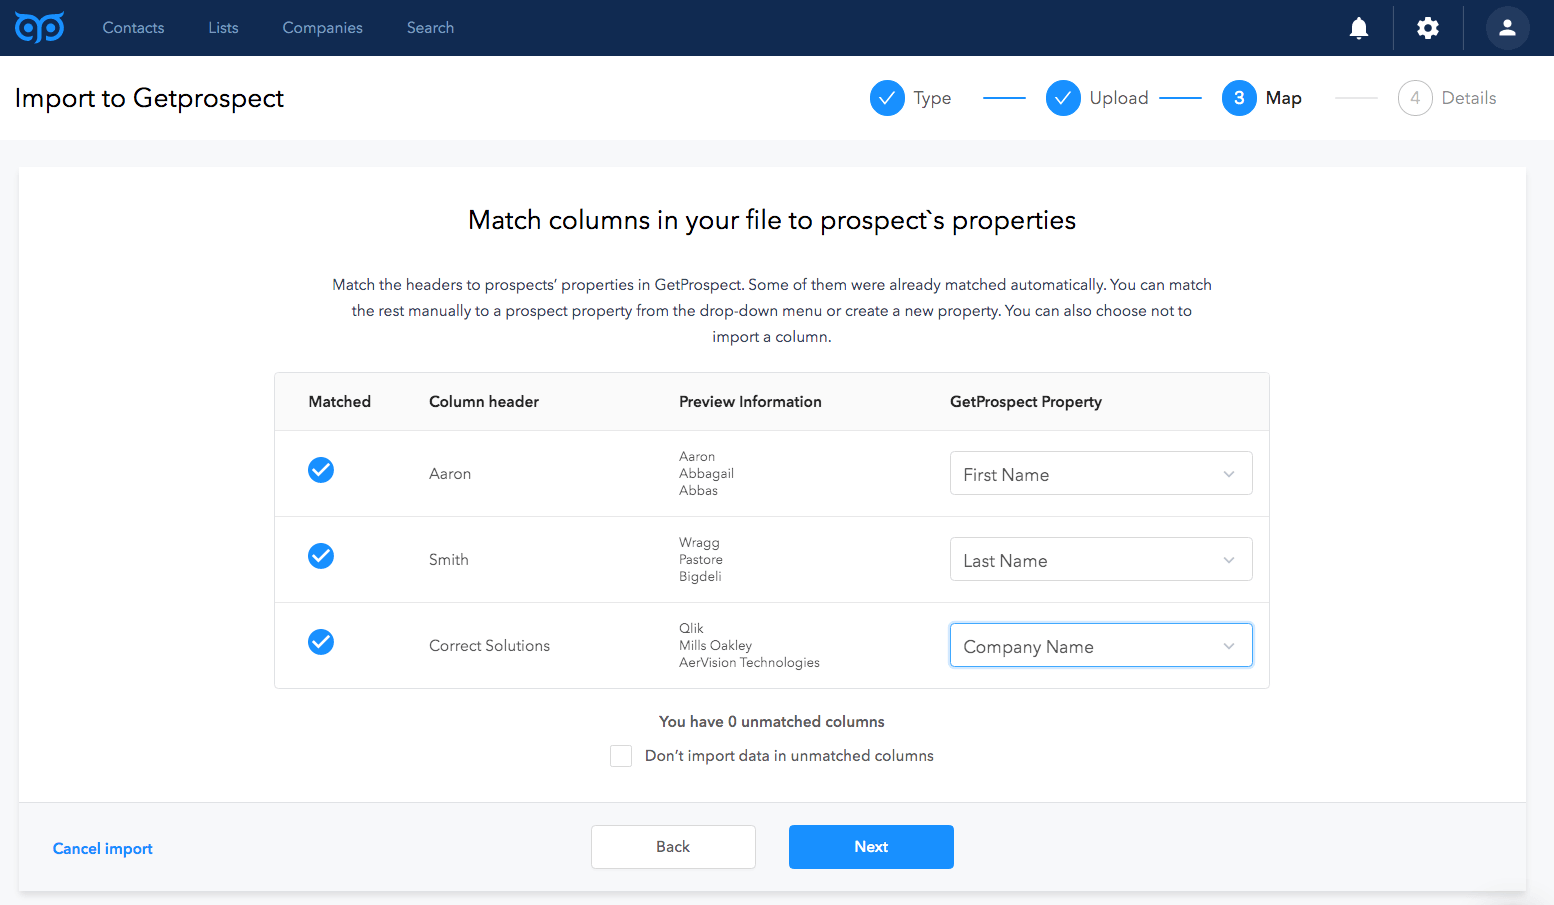
After that you will need to match the headers to prospects’ properties in GetProspect. Some of them will be already matched automatically. You can match the rest manually to a prospect property from the dropdown menu, or create a new property. You can also choose not to import a column.

After all the necessary data is matched, click Next.
The last step is to give a name to your import. You can leave it as it is, or you can rename it.
You can choose the destination list for your import. For that, click Save contacts to list. Then you can either select an existing list from the dropdown, or create a new list.
To create a new list, type in the list name and click +Create list "list name".
You can import a file to multiple lists at once.
.png)
Click Done.
Now depending on the file size, it will take some time to process your import. Once it is done, you will get an email, and you will also see the notification in your GetProspect account.
You can see your imports on the import page. To access the particular import, click on its name.
.png)

